Best Practices
How to prepare for junk removal day — tips for a smooth, efficient experience.
Preparation Checklist
Follow these steps to create the ideal environment for a hassle-free removal.
1. Sort Your Items
Divide belongings into three categories: keep, donate, and remove. This helps us work efficiently and ensures you don't accidentally discard something you want.
2. Clear Access Paths
Make sure hallways, doorways, and stairways are clear. This speeds up the process and prevents damage to your home.
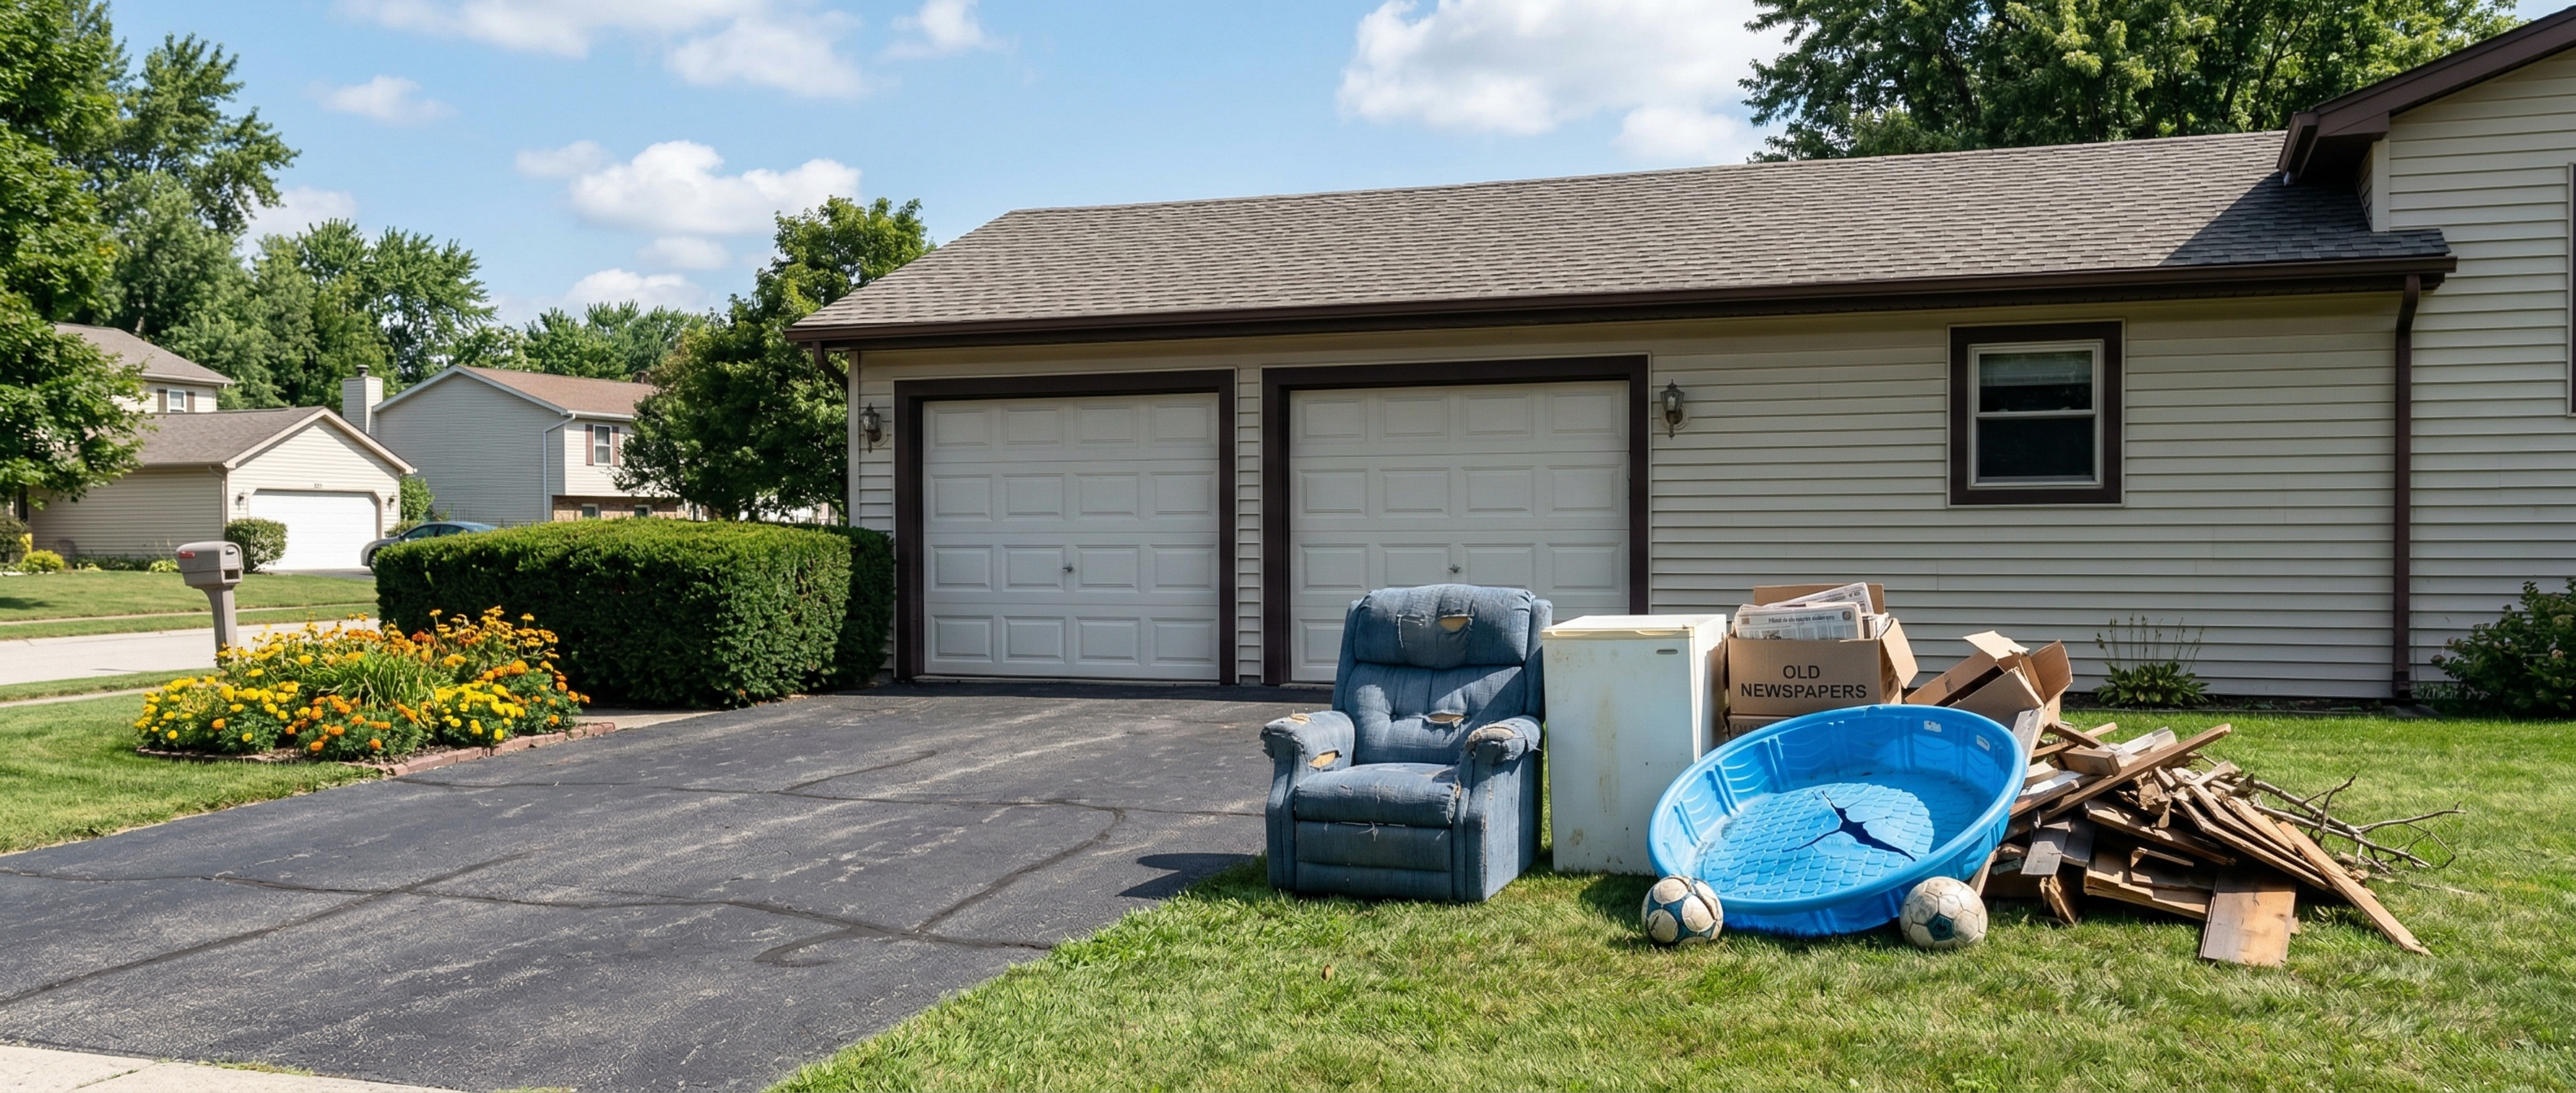
3. Designate a Staging Area
If possible, move items to a garage, driveway, or one room. A staging area makes loading faster and reduces your cost.
4. Label Large & Bulky Items
Place a sticky note or mark items that need to go. This avoids confusion, especially in estate cleanouts or multi-room jobs.
5. Communicate Special Needs
Let us know about heavy items, tight spaces, or anything that needs extra care. We come prepared with dollies, blankets, and tie-downs.
6. Be Available on Removal Day
Have someone present to answer questions and do a final walkthrough before we leave. This ensures nothing is missed.
7. Protect Floors & Walls
If you have delicate surfaces, let us know. We use blankets and take care, but extra protection like cardboard or rugs helps.
8. Know What Can't Be Hauled
We handle sanitary items only. Hazardous materials, biohazards, medical waste, animal waste, and household trash are not accepted.
Safety First
- Wear closed-toe shoes when moving items
- Keep children and pets away during removal
- Point out any tripping hazards or uneven surfaces
- Let us handle all heavy lifting — that's our job!
- Ensure adequate lighting in pickup areas
What to Expect on Removal Day
Arrival
We arrive on time with our equipped truck, ready to work.
Walkthrough
We do a quick walkthrough to confirm items and provide a final quote.
Loading
Our team handles all heavy lifting using professional equipment.
Cleanup
We sweep and blow the area clean before we leave.